Generate Gcode in LightBurn
Step1: Download and Install Lightburn
https://Lightburnsoftware.com/pages/trial-version-try-before-you-buy

Step 2: Download the Configuration File
1. Open LightBurn, click Devices on the Laser panel

2. Click Import to import the file you just downloaded “xTool-laserbox.lbdev”.


3. The following device information will be displayed after the file is successfully imported.

Step 3: Design Your Artwork and Output Gcode

- Select P1 before setting the parameters
- Import the file or design on canvas
- Set the processing parameters
- Set the focal length. Enter "G0 Z-n" into the [Start code] field.
You can calculate the focal length using this equation:
Focal length(n)=21-the thickness of material(mm)
Enter【n】to the G0 Z-n command.
For example, if the thickness is 3 mm, then the focal length is 18, and the command is G0 Z-18

Then save the file as GCode
Note: The file placement position in LightBurn needs to be consistent with the actual engraving position (the processing material needs to be placed at (0,0). Please set Start From to Absolute Coords.


Also, please make sure the [Z Axis Control] options are disabled.

The processing position is affected by the actual position of the processing material.
We suggest that you test several times to figure out the correlation between the position on canvas and the actual processing position.
Connect Laserbox with xTool Creative Space
Step 1. Download and open xTool Creative Space
Download and install XCS through the following links
https://www.xtool.com/pages/software
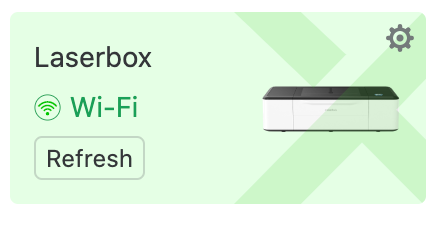
After the installation, connect your Laserbox to XCS
Step 2. Import the gcode file to XCS
Click the gear icon.

Click "Setting" on the left and then click "Import". You will be able to import the gcode file.