Unboxing video
Download PDF file (multi-language)
List of items
Unbox xTool M2 and check the items inside the pack. If you find items missing or broken, please contact us for after-sales support.
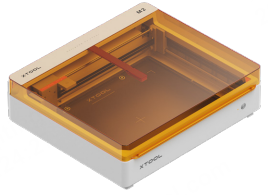
xTool M2 | |||
|---|---|---|---|
xTool M2 |
|
| |
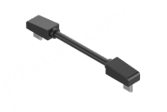
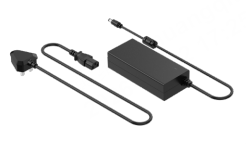
Module connection cable | Power adapter and cable | ||
|
|
| |
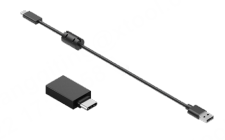
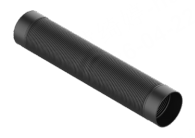
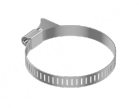
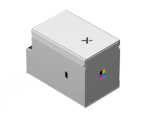
USB cable and adapter | Smoke exhaust pipe | Clamp | Grease |
|
|
| |
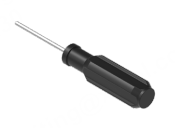
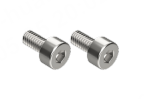
Material pack | Magnetic fixture | Hex screwdriver | Screw M3*6 |
| |||
Masking tape | Safety Instructions | Instruction card | |
Laser module | |||
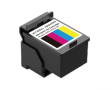
xTool M2 CMYK Inkjet Module | |||
|
|
|
|
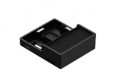
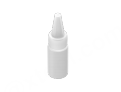
xTool M2 CMYK Inkjet Module | Ink cartridge | Bottom cap | Moisturizing liquid |
|
|
|
|
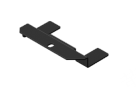
Bottom cap retainer plate | Screw | Calibration card (A5) | Ferrite core |
| |||
User manual | |||
xTool Rotary Attachment 3 Lite | |||
Jaw chuck components (3 types of jaws): | |||
|
|
|
|
Jaw chuck | Cylindrical jaw | T-shaped jaw | Extended jaw |
|
|
|
|
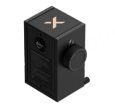
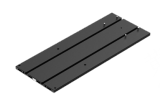
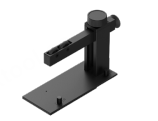
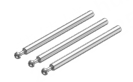
Power module | Main baseplate | Support module | Stud components |
|
|
|
|
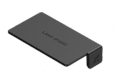
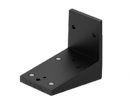
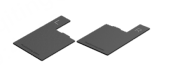
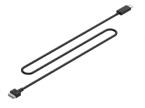
Laser shield | Horizontal laser emission holder | Positioning plate | Device connection cable |
| |||
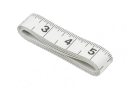
Tape measure | |||
| |||
Note: The adapter, power cable, USB cable and adapter, and material pack may vary according to kits. The illustrations are for reference only. | |||
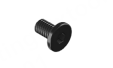


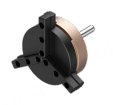


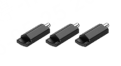
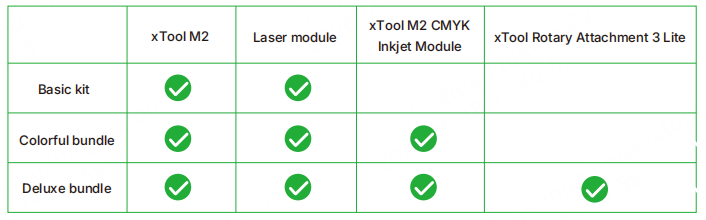
Meet your xTool M2
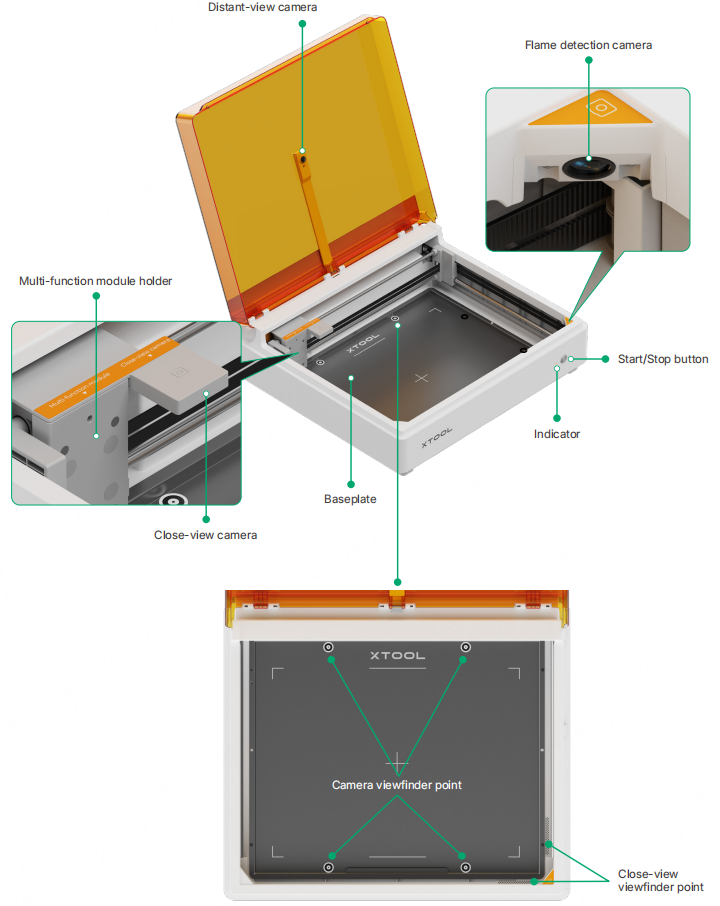
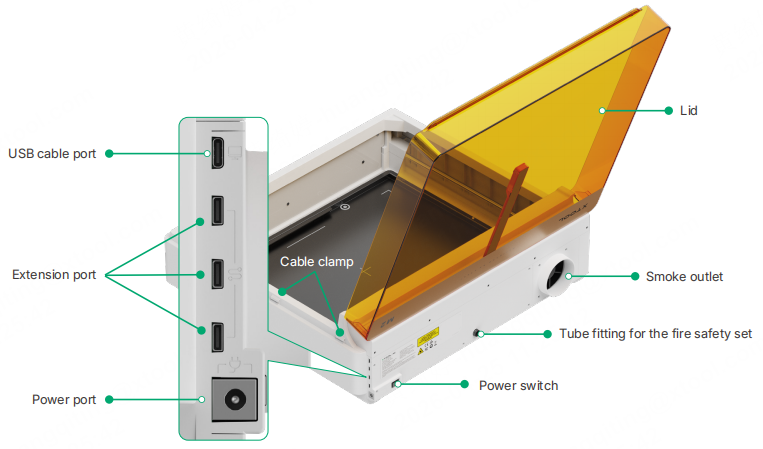
Product structure
Specifications
Product name | xTool M2 |
|---|---|
Safety Classification | Class 1 Laser Safety |
Product size | 610 mm × 569 mm × 180 mm |
Weight | 12.3 kg |
Processing area | 10/20W module: 426 mm × 320 mm 40W module: 426 mm × 312 mm 3W infrared module: 412.5 mm × 310 mm |
Maximum processing speed | 600 mm/s (XY axis) 100 mm/s (Z axis) |
Input power | 10W module/3W infrared module: 25V 2A 20W module: 25V 3.4A 40W module: 25V 6A |
Camera resolution | Close-view camera: 5 MP Distance-view camera: 16 MP |
Indicator description
Buzzer status | Indicator status | Device status |
|---|---|---|
/ | Blinking white slowly | Initializing |
/ | Breathing white | Sleep mode |
/ | Blinking blue | Configuring network |
/ | Solid blue | Standby, the device is not connected to the software |
/ | Blinking yellow slowly | Framing |
/ | Solid yellow | Focusing |
/ | Solid yellow | Automating |
/ | Blinking green slowly | Processing |
/ | Solid green | Processing paused |
/ | Solid purple | Firmware updating |
/ | Blinking purple slowly | Calibrating |
Sounding once | / | Lid closed |
Sounding once | Solid white | Standby, the device has connected to the software |
Sounding once | Solid green | Ready to work |
Sounding three times | / | Exception occurs |
Keeping sounding | Blinking red quickly | Secondary and tertiary flame exceptions detected |
Start/stop button description
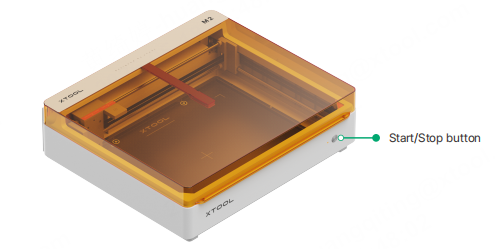
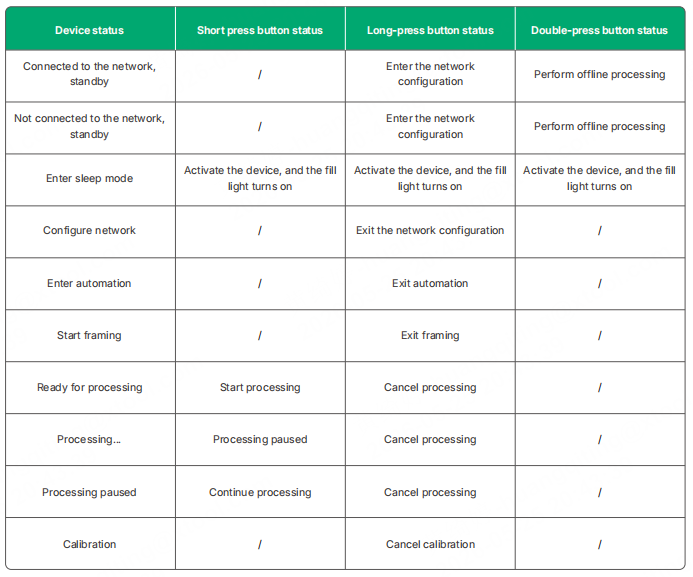
Preparations
It is recommended that you place the device on a stable and flat work surface.
1. Open the lid, and take out the foams and items inside the device
(1) Take out the foams in order.
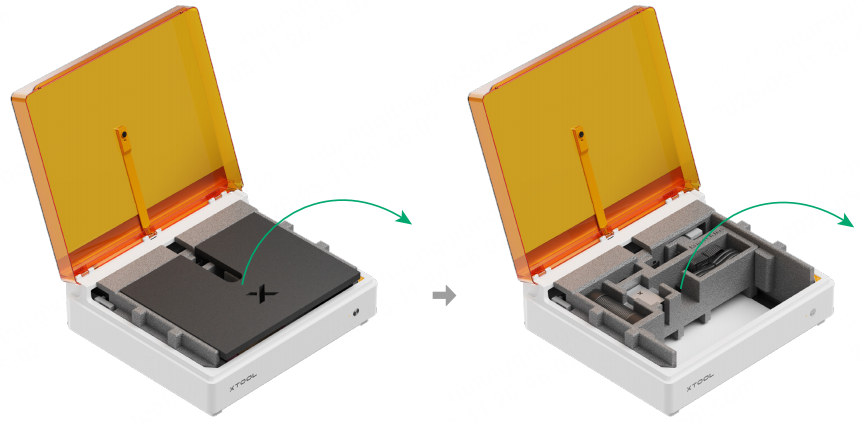
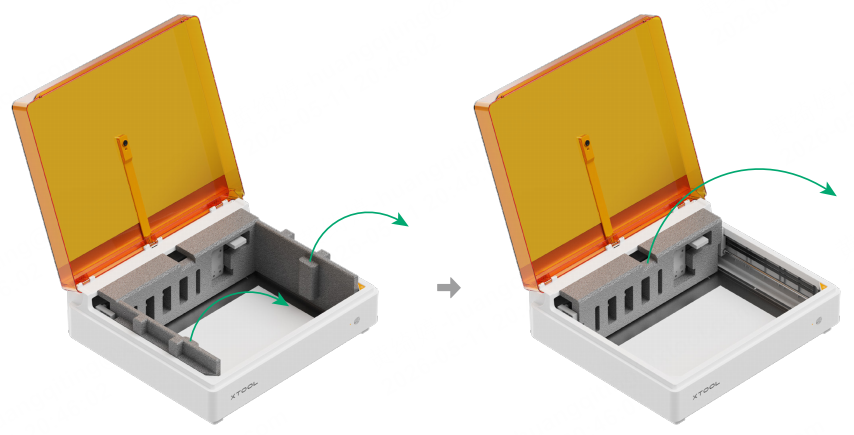
(2) Take out the material. Move the laser module holder forward, and remove the foam inside the device.
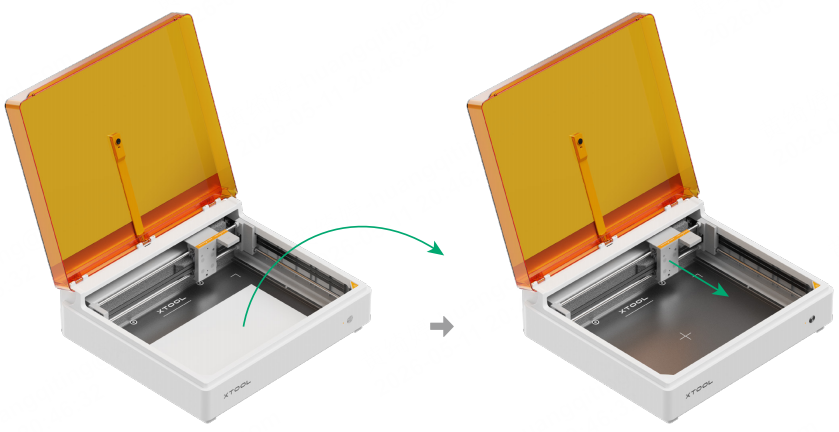
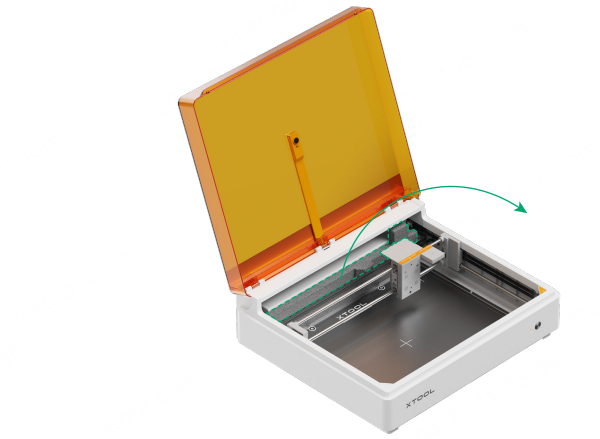
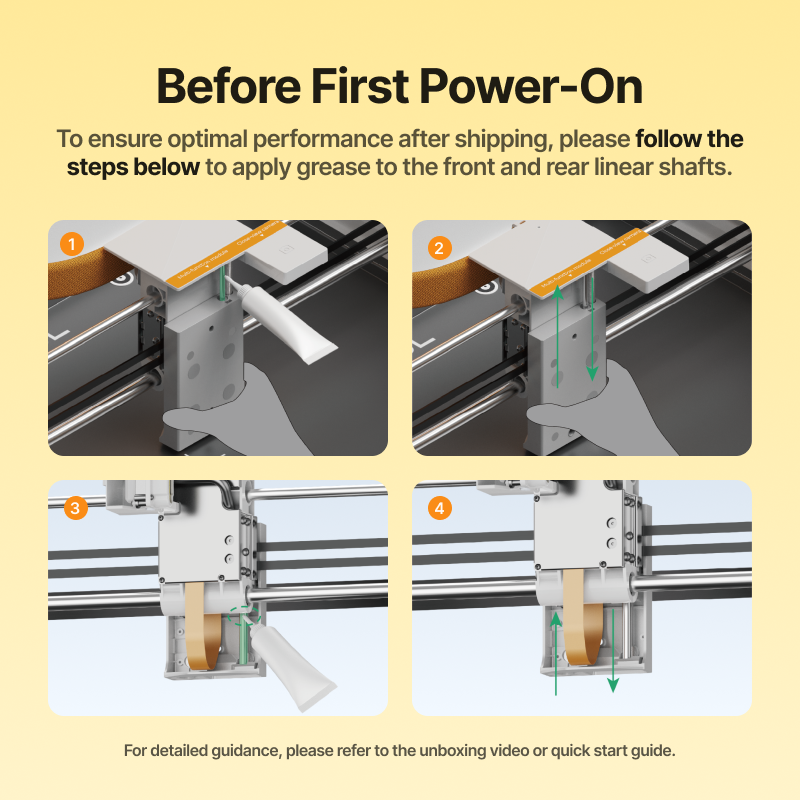
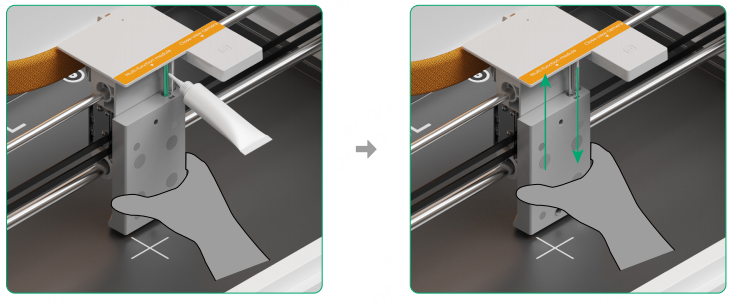
2. Apply grease to the front and rear linear shaft of the laser module
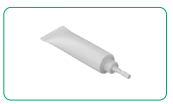
(1) Pull down the module holder plate with one hand, and apply grease thoroughly to the front linear shaft.
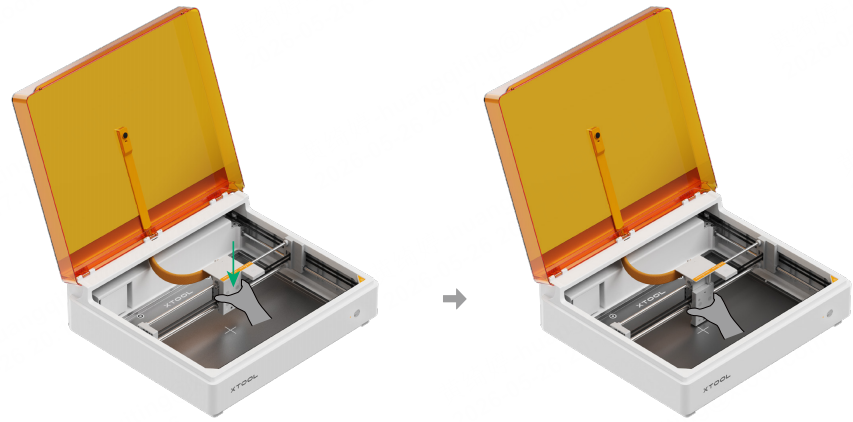
When applying grease to the front linear shaft thoroughly, pull the module holder plate all the way down, and release your hand. Repeat this action three times.
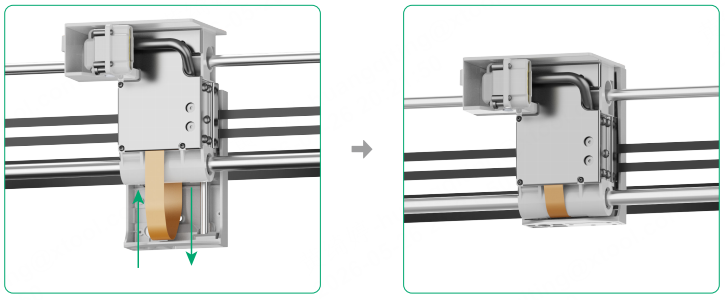
(2) Apply grease thoroughly to the rear linear shaft in the same way.
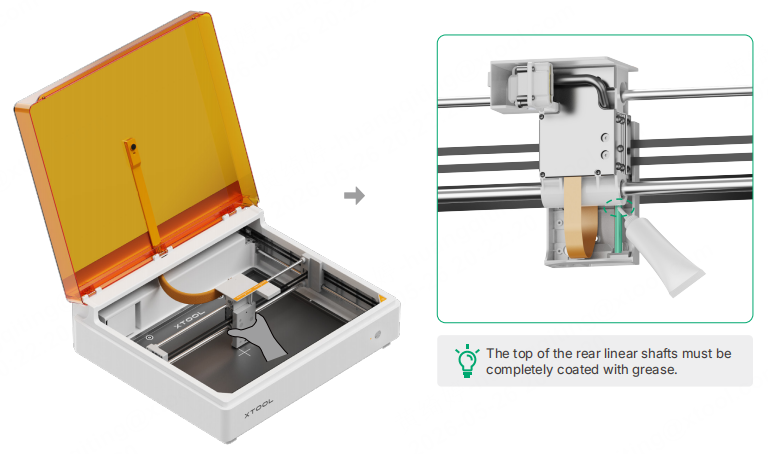
When applying grease to the rear linear shaft thoroughly, pull the module holder plate all the way down, and release your hand. Repeat this action three times.
3. Install the smoke exhaust pipe
(1) Loosen the latch of the clamp, and install it on the smoke exhaust pipe.
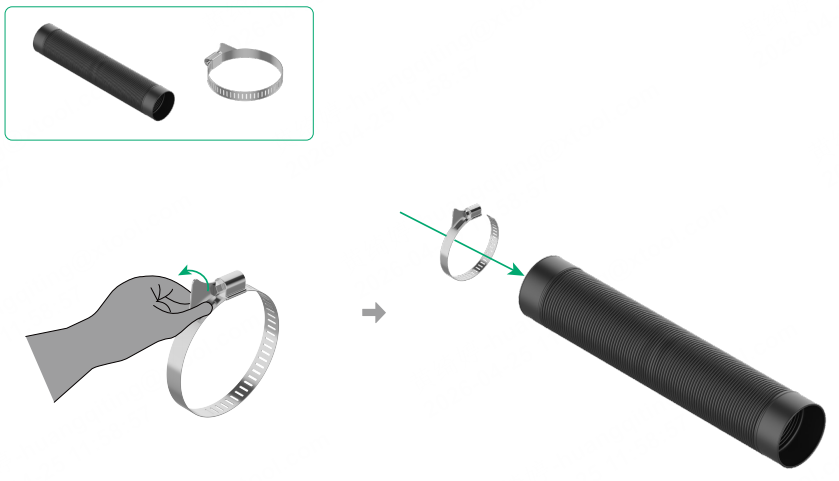
(2) Install the smoke exhaust pipe and tighten the latch of the clamp.
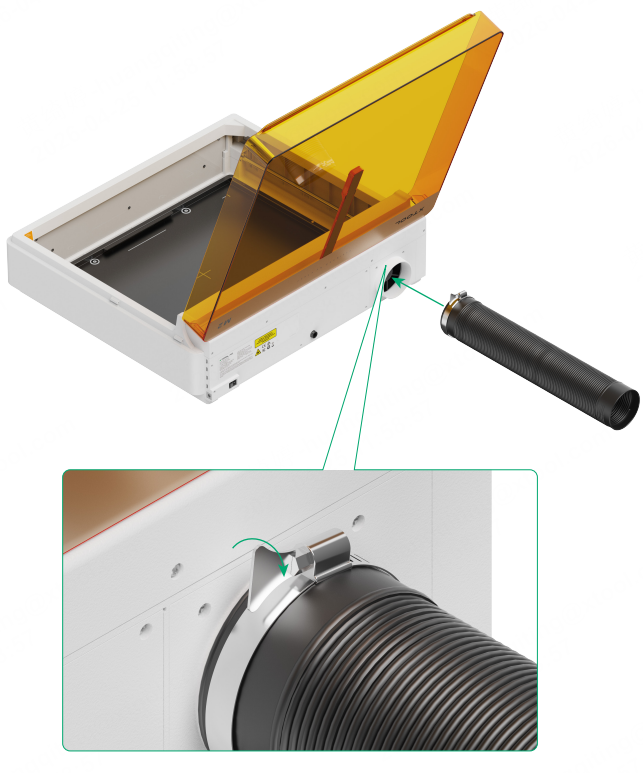
The device may produce harmful smoke, and dust or gas during processing. It is recommended that you install the smoke exhaust pipe and connect it to the air purifier or place the smoke outlet out of the window.
- Exhaust the smoke through the air purifier:
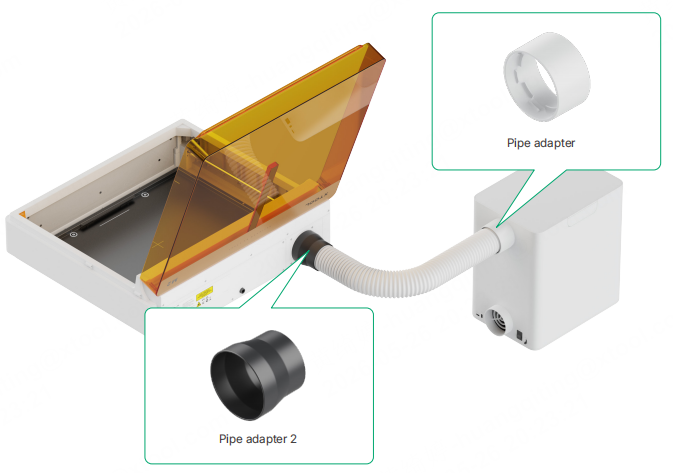
If you have purchased the desktop smoke purifier, go to support.xtool.com/replacement-parts?from=support_home apply the pipe adapters.
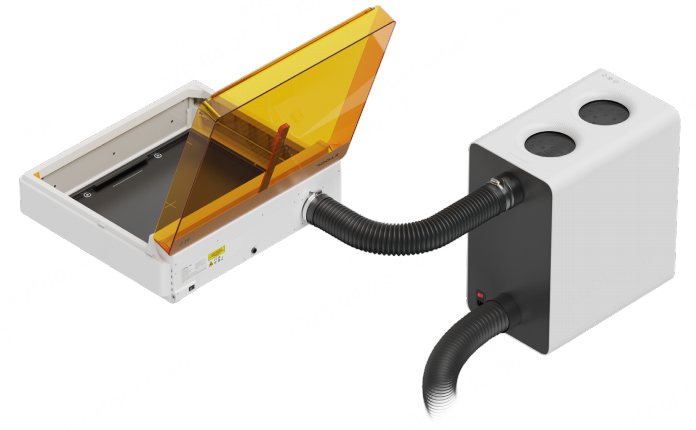
To know more details about xTool SafetyPro™ AP2, visit Support for SafetyPro™ AP2.
- Exhaust the smoke through the window:
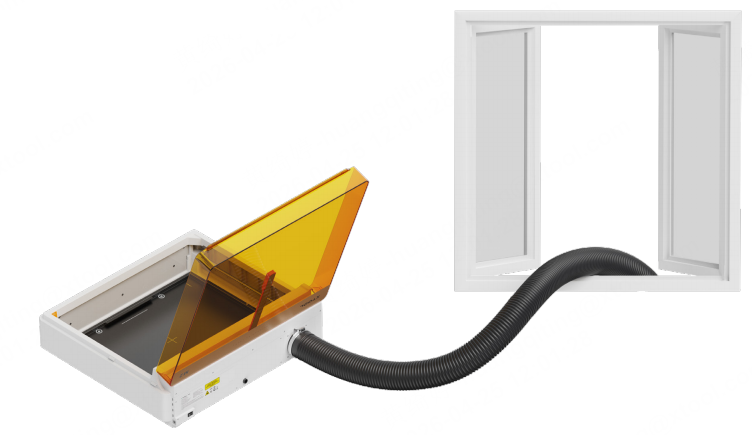
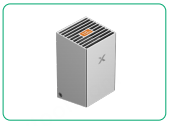
4. Install the laser module
(1) When you install the laser module, the two location pins on its back and the multi-function module holder should be aligned.
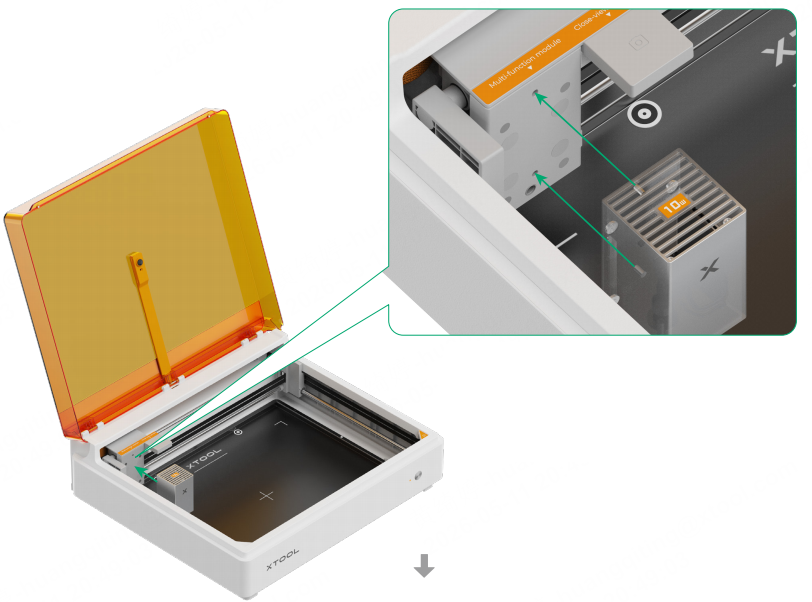
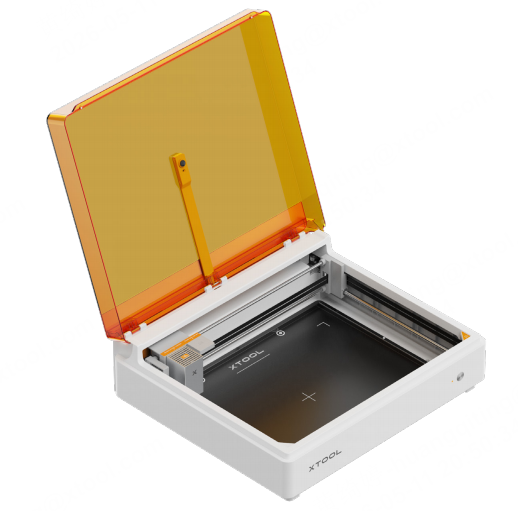
(2) Connect the laser module and the multi-function holder via the module connection cable.
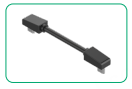
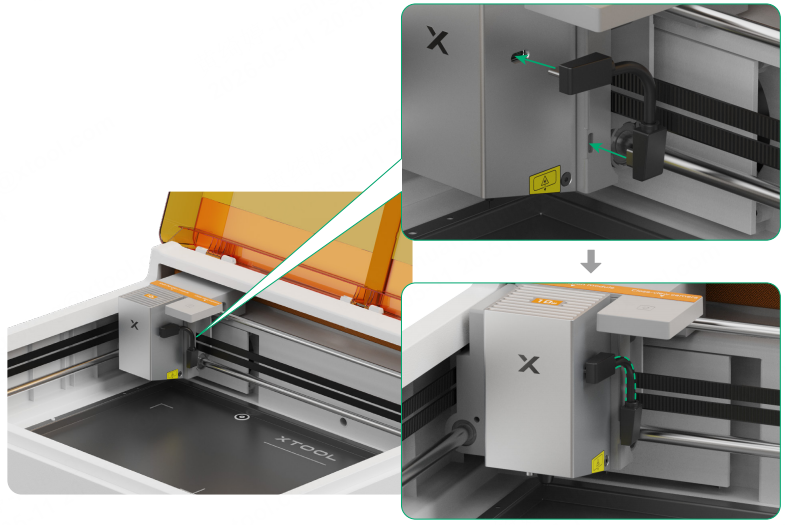
Ensure the cable is positioned close to the laser module.
5. Connect to a power supply and turn on the power switch
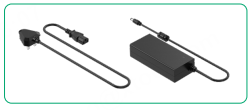
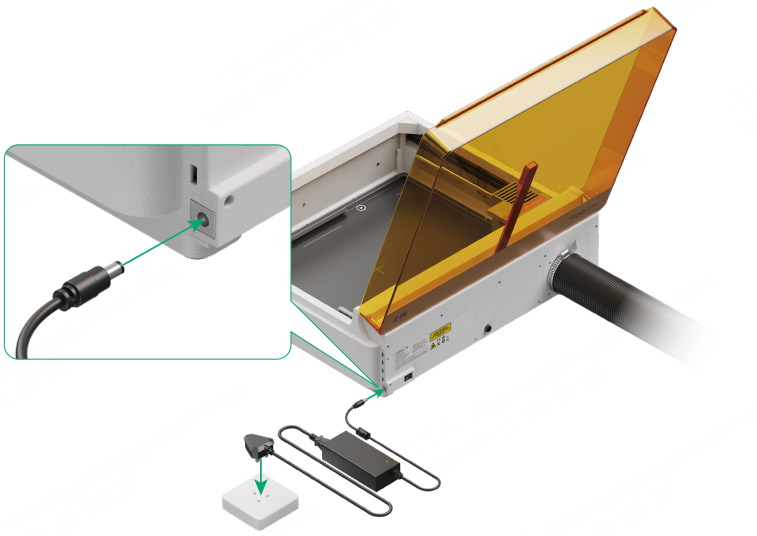
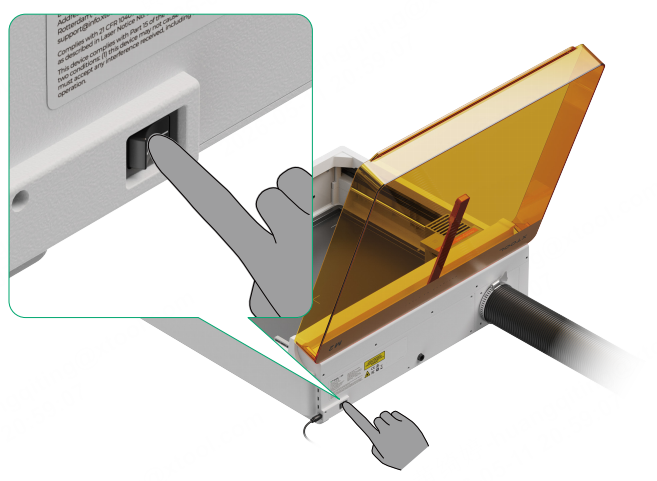
Use xTool M2
1. Get the xTool software
Go to s.xtool.com/software to get the xTool software.
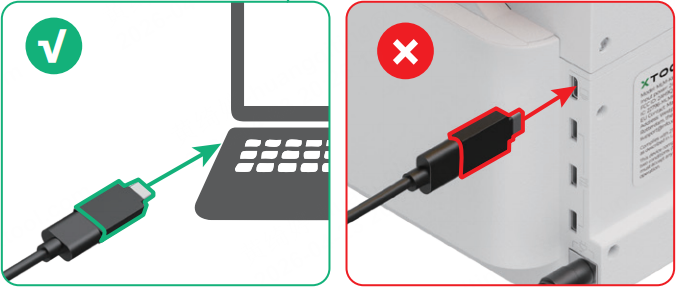
2. Connect xTool M2 to your computer via a USB cable and an adapter
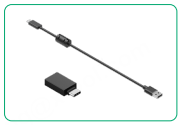
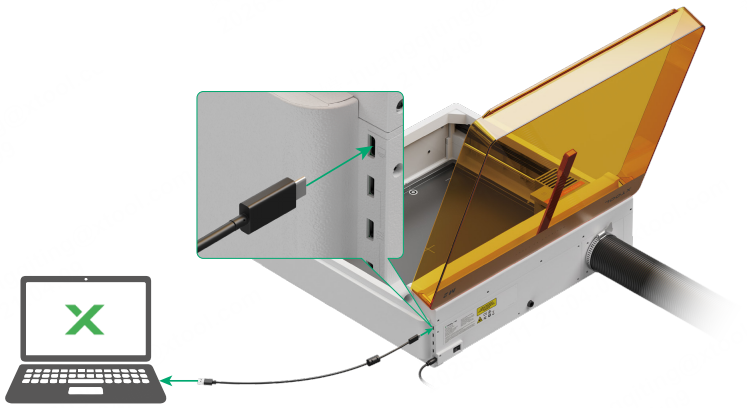
Attention: The adapter is only for connecting to a computer and must not be used to connect to a device.
Secure the material
Before securing the material, clean the baseplate to ensure its surface is smooth and level. This prevents material bulging or staining caused by debris or stains on the baseplate.
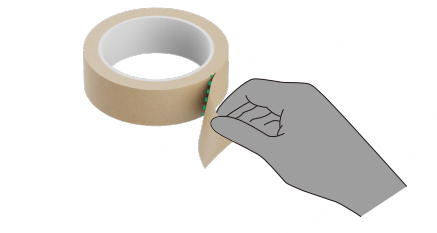
Inkjet printing or laser engraving 0<H ≤ 1.5 mm materials: secure with masking tape
(1) Peel off a few pieces of masking tapes.
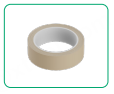
(2) Secure the material on the baseplate with the masking tape.
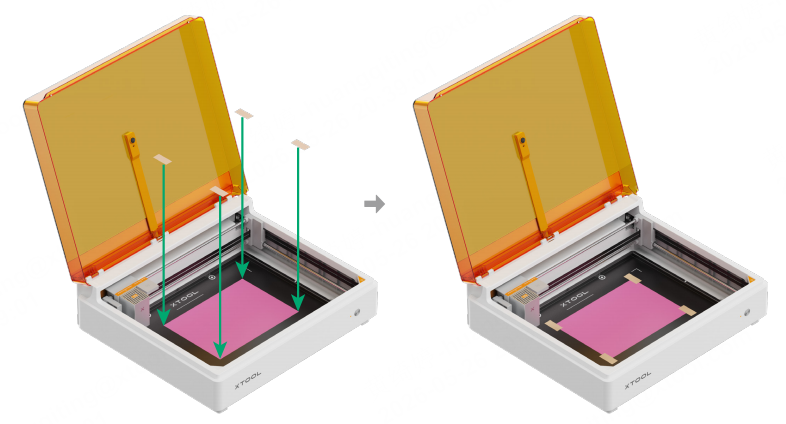
When you use the inkjet printing, regardless of the thickness of the material, it is recommended that you secure the material with tape to prevent the inkjet module from colliding with the material.
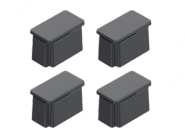
Laser cutting 0<H ≤ 6 mm materials: secure with magnetic fixtures
(1) Lift the upper surface of the fixture.
· To ensure better cutting results, lift the material with four magnetic fixtures. It provides sufficient smoke exhausting space beneath the material.
· To cut flexible materials (such as paper, thin fabric, etc.), secure them to the baseplate using masking tape or a custom-made jig.
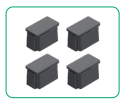
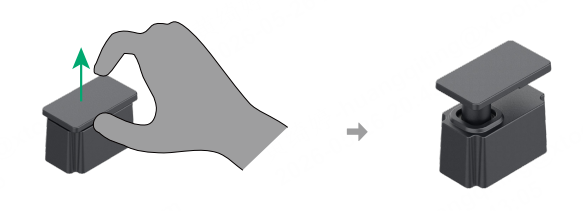
(2) Secure the material into the fixture.
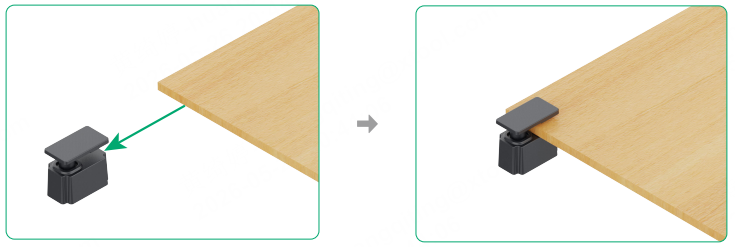
Install the other three magnetic fixtures in the same way.
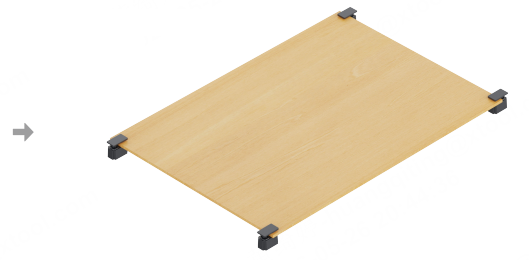
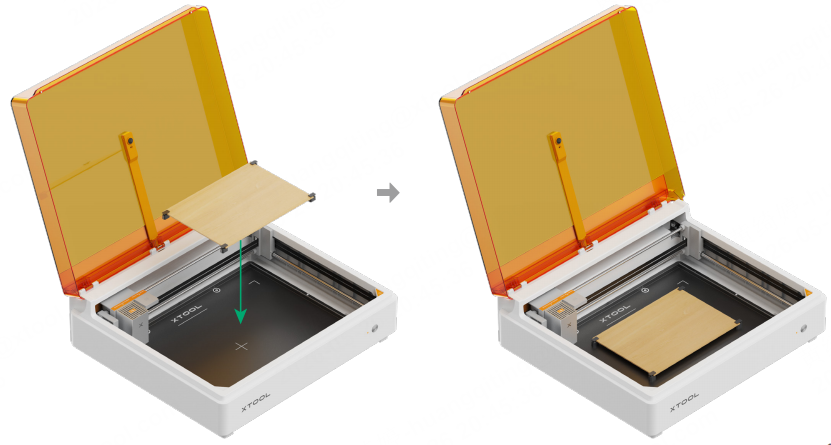
(3) Place the material with four fixtures on the center of the baseplate.
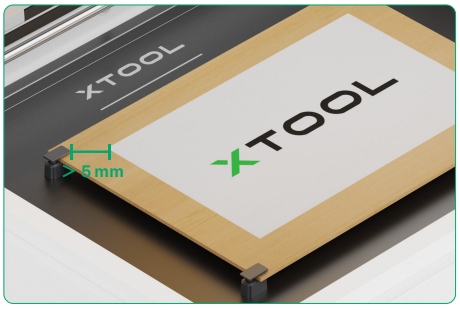
To prevent the laser beam damaging the magnetic fixtures, ensure that the edges of the processing objects maintain a distance of at least 5 mm from the magnetic fixtures.
Laser cutting 6 mm ≤ H ≤ 16 mm materials: secure with magnetic fixtures
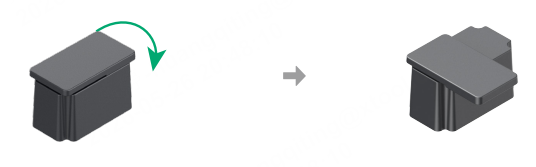
(1) Rotate the upper surface of the fixtures.
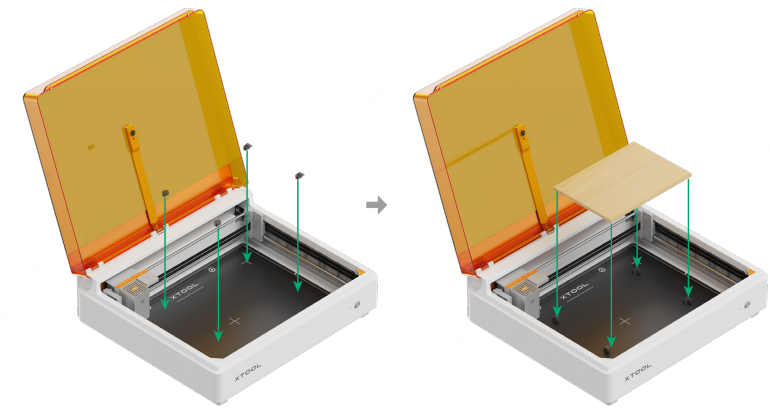
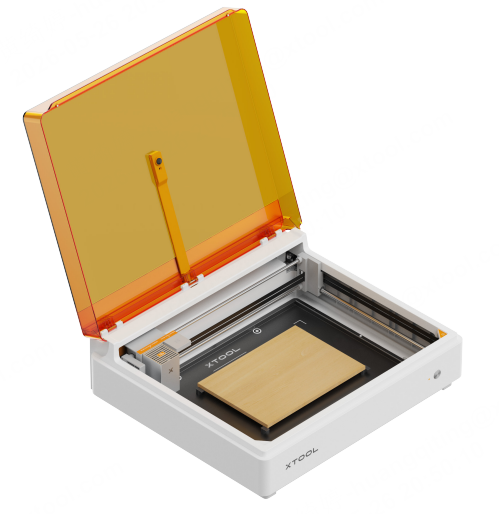
(2) Place the fixtures on the baseplate, then place the material on the fixtures.
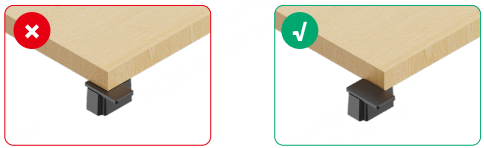
Do not put the material to be processed on the upper surface of the magnetic fixture.
Laser engraving curved materials
To ensure accurate distance measurements, use masking tape or a custom-made jig to secure the material to the baseplate.
To know more ...
- For details about how to use the software to operate xTool M2, visit Operate xTool M2 with xTool Software.
- For details about how to use xTool M2 CMYK Inkjet Module with xTool M2, visit xTool M2 CMYK Inkjet Module User Guide.
- For details about how to use xTool Rotary Attachment 3 Lite with xTool M2, visit xTool Rotary Attachment 3 Lite User Guide.
- For details about how to use xTool Fire Safety Set with xTool M2, visit Use xTool Fire Safety Set on xTool M2.
- For more about how to determine the materials for processing, visit xTool M2 Material Cheat Sheet for Beginners.
- For more details about the software and projects, visit xTool Academy.