Calculating the Taper Angle
Before editing, you'll need to acquire your tumbler's taper. Here we have 3 routes to calculate the angle:
- Online Calculator: If apps aren't your cup of tea, try an online calculator like this one.
- DIY Calculation: For the mathematically inclined, here's the formula to calculate it yourself: Taper angle=atan(D1−D22×L)
D1: Diameter of the tumbler's larger end
D2: Diameter of the smaller end
L: Length of the tumbler
atan: The arctangent function
This formula yields the cone angle in radians. Convert it to degrees by multiplying by (180/π)
Deform Your Design in Photoshop
With the angle in hand, it's time to mold your design into a tapered tumbler masterpiece in Photoshop.
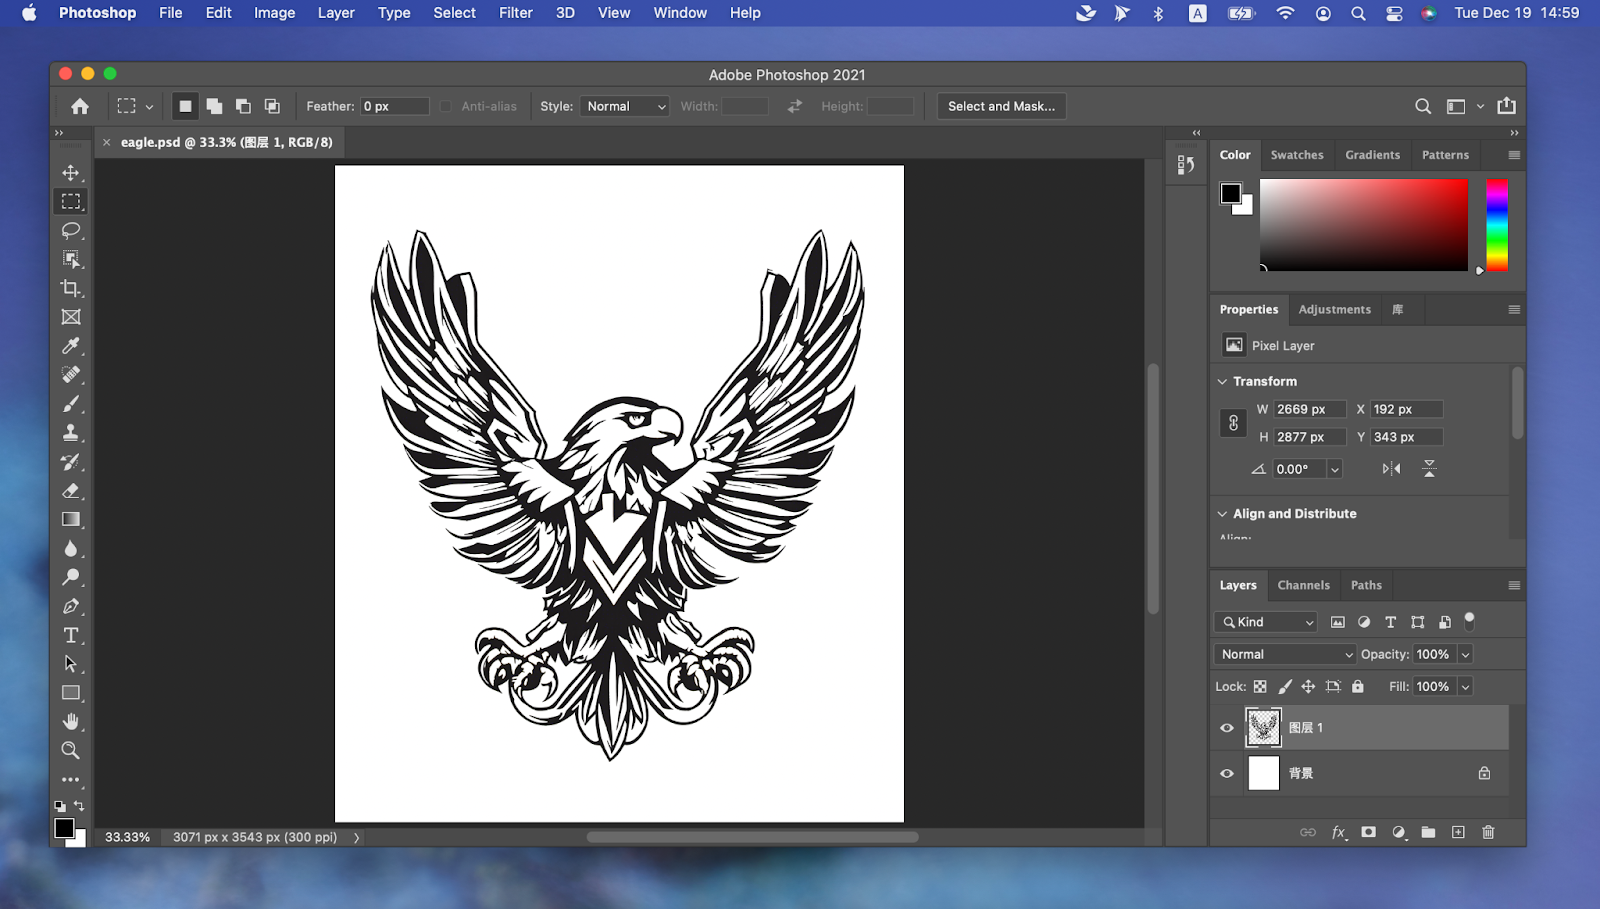
Preparation
New Canvas: Open Photoshop and create a new document. Set the width to the larger of the tumbler's circumferences and the height to the tumbler's length.
Design within Bounds: Sketch your design. Remember, it'll stretch to fit the taper.
Transform and Twist
Distort and Warp: Navigate to Edit > Transform > Distort> Warp. This lets you non-uniformly deform the image, a must for that tapered look.
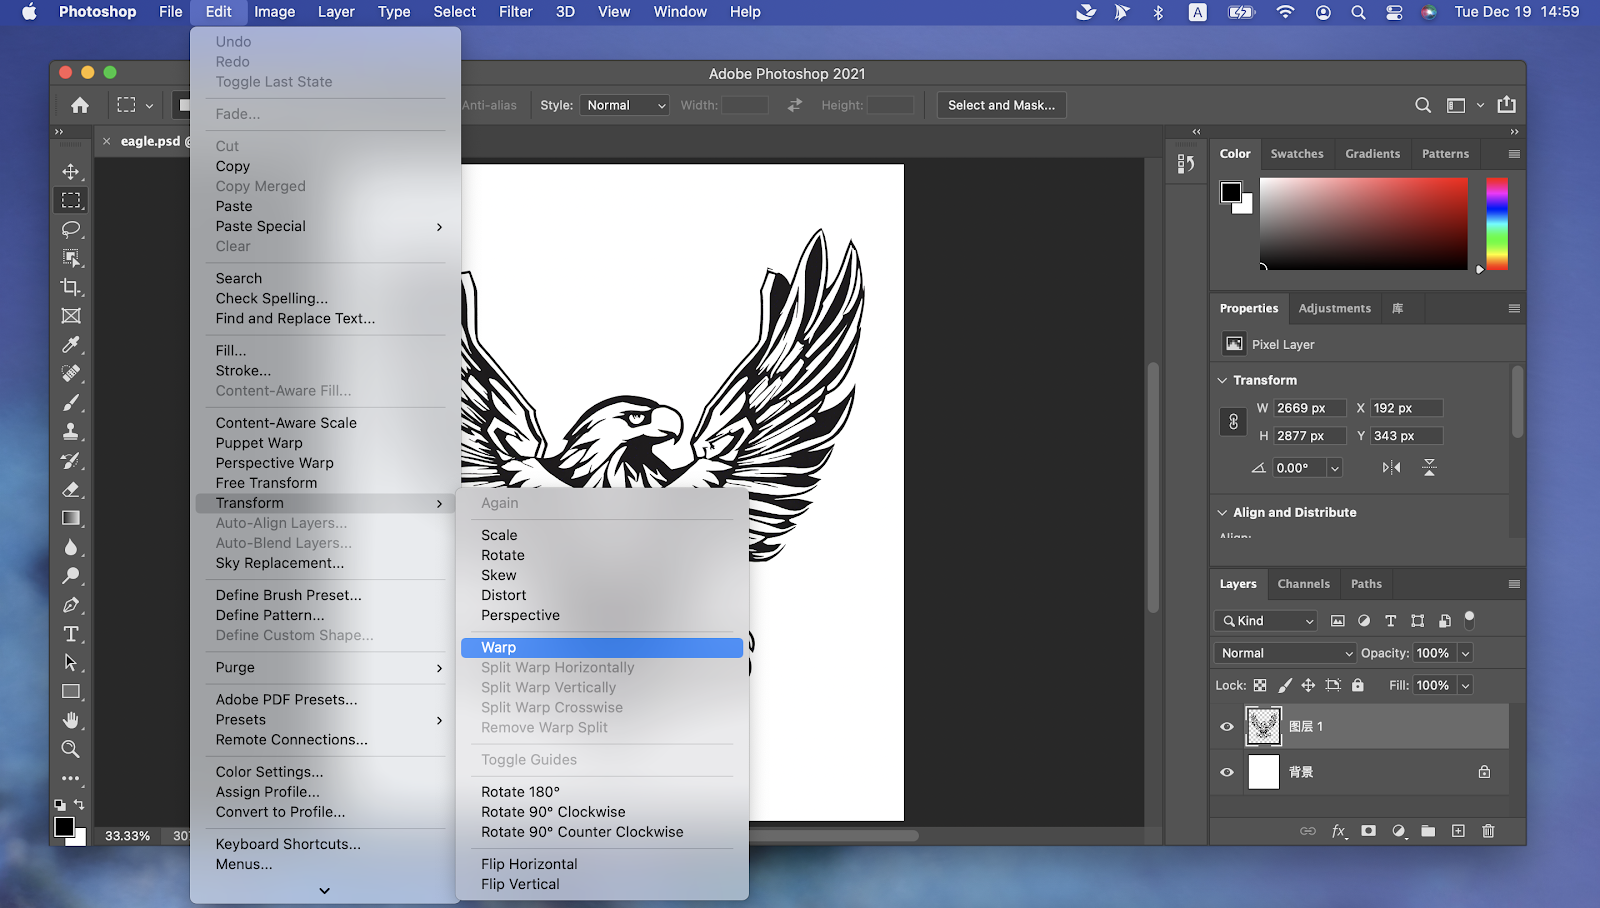
Arc Style: Switch to Arc style. It lets you curve the image, adapting it to the taper.

Input the Values
Bend & V-Values:
- Set
Bendto 0 to avoid initial distortion. V-valueis the warp percentage, not an angle. The formula here is (2×angle)−2.22

- Apply the Warp: Input your calculated V value and apply the transformation. Your round logo now compensates for the taper.
- Check and Adjust: After warp, ensure the size is right. Keep the aspect ratio intact to avoid any new distortions. If needed, resize it to match the dimensions of your engraving target.
Import Into XCS Software
Services & Help
Learn & Education

Copyright © 2025 xTool All Rights Reserved.